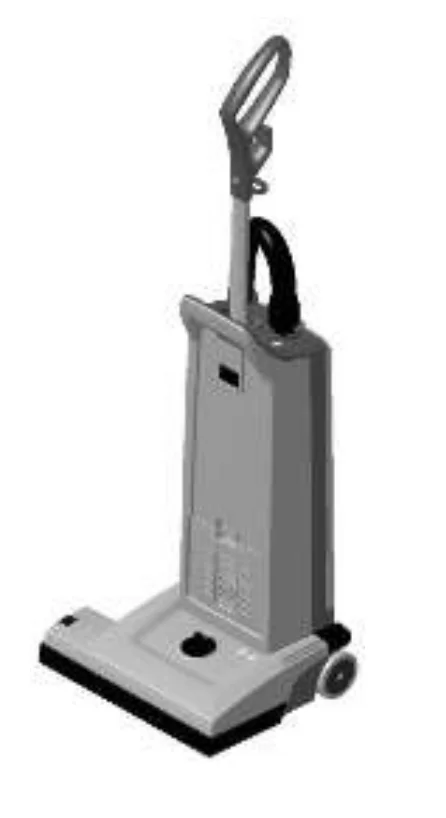
Spectrum 12S, 12H, 12P, 12D, 15S, 15P, 15D, 18D, GU 12 SMU, GU 15 SMU, GU 12 DMU, GU 15 DMU, GU 18 DMU
INSTRUCTIONS FOR USE
823 0102 020 E
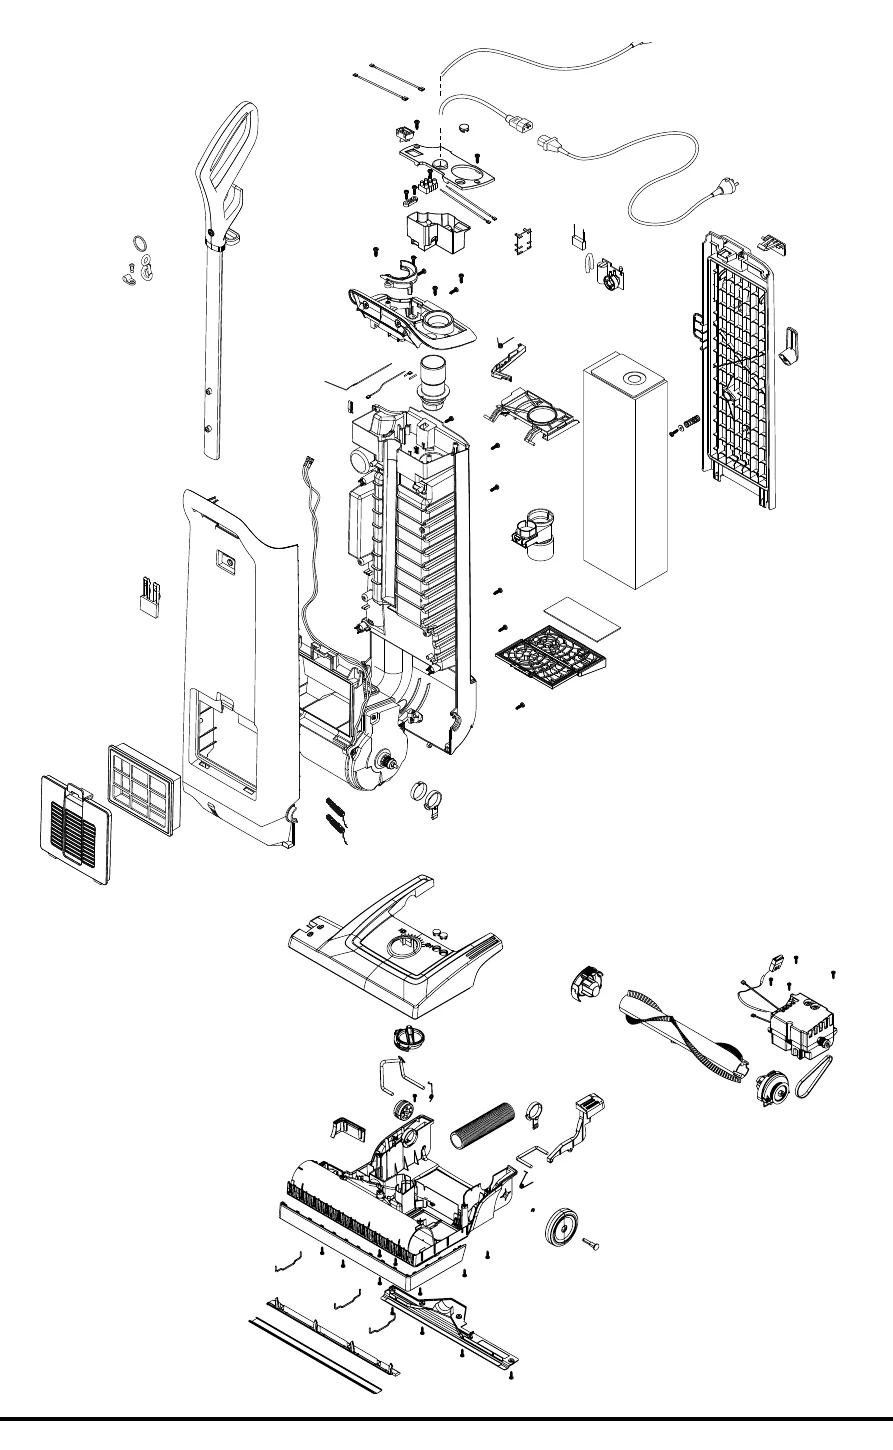
Exploded view
CONTENTS
| Topic | Page |
|---|---|
| Important Safety Instructions | 5 |
| Grounding Instructions | 6 |
| Introduction | 7 |
| Parts and Service | 7 |
| Rating plate | 7 |
| Unpacking the Machine | 7 |
| Technical Specifications | 7 |
| Know Your Machine | 8 |
| Set-Up and Assembly | 8 |
| Operating the Machine | 9 |
| Using the Wand | 10 |
| Using the Tools | 10 |
| Maintenance | 11 |
| Changing the Paper Dust Bag | 11 |
| Changing the Cloth Dust Bag | 11 |
| Changing the Brush | 12 |
| Changing the HEPA-filter | 12 |
| Changing the Exhaust filter | 13 |
| Cleaning or changing the Pre-Filter | 13 |
| After Using the Machine | 13 |
IMPORTANT SAFETY INSTRUCTIONS
When using an electrical appliance, basic precautions should always be followed, including the following:
Read all instructions before using this appliance.
This machine is for commercial use, for example in hotels, schools, hospitals, factories, shops and offices other than normal residential housekeeping purposes.
THIS APPLIANCE IS INTENDED FOR DRY USE ONLY!
DO NOT USE FOR WET FLOOR OR CARPET!
- Do not leave the appliance when it is plugged in. Unplug the unit from the outlet when not in use and before servicing.
- Do not allow to be used as a toy. Close attention is necessary when used by or near children.
- Use only as described in this manual. Use only the manufacturer’s recommended attachments.
- If the appliance is not working as it should be, has been dropped, damaged, left outdoors or dropped into water, return it to a service center. The machine must not be used if the electrical cord shows any sign of damage. Regularly inspect the cord for damage, particularly if it has been crushed, shut in a door or run over.
- Do not pull or carry by the cord, use the cord as a handle, or pull the cord around sharp edges or corners. Keep the cord away from heated surfaces.
- Do not unplug by pulling on the cord. To unplug, grasp the plug, not the cord.
- Do not handle the plug, cord or appliance with wet hands.
- Do not put any object into openings. Do not use with any opening blocked.
- Keep loose clothing, hair, fingers, and all parts of body away from openings and moving parts.
- Do not pick up anything that is burning or smoking, such as cigarettes or matches. Under no circumstances should the machine be used for picking up hot material. In particular the machine must not be used for cleaning open and closed fireplaces, ovens or similar that contain warm or glowing ashes.
- Do not use without dust bag and/or filters in place.
- Turn off all controls before unplugging. The plug must always be removed from the socket outlet before starting any service or repair work of the vacuum cleaner or the cord.
- Avoid vacuuming hard or sharp objects.
- Use extra care when cleaning on stairs.
- The machine must not be used for picking up combustible materials which are health endangering or explosive materials such as petrol (gasoline), nor should it be used in an explosive atmosphere.
- The machine is not designed for picking up hazardous - i.e. poisonous dust.
- No changes or modifications of the mechanical, electrical or thermal safety devices should be made.
- When repairing or replacing the cord, the same type of cord as originally supplied with the machine must be used. This cord can be supplied by ADVANCE.
SAVE THESE INSTRUCTIONS
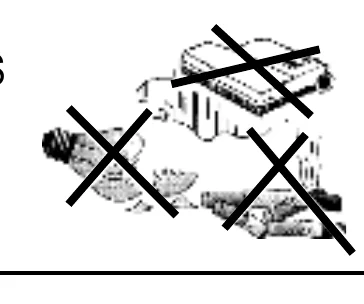
GROUNDING INSTRUCTIONS
This appliance must be grounded. If it should electrically malfunction, grounding provides a path of least resistance for electric current to reduce the risk of electric shock. This appliance is equipped with a cord having an equipment-grounding conductor and grounding plug. The plug must be plugged into an appropriate outlet that is properly installed and grounded in accordance with all local codes and ordinances.
If it will not fit the outlet, have a proper outlet installed by a qualified electrician.
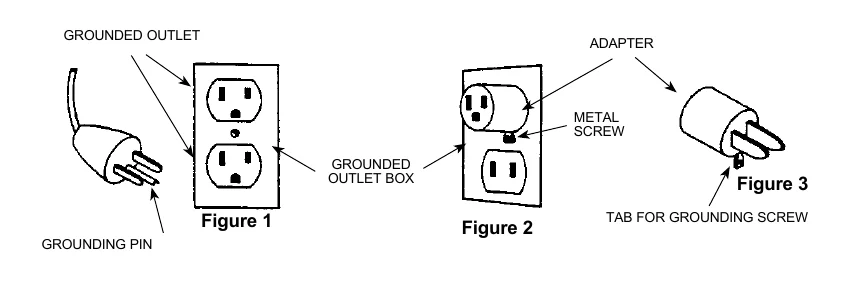
This appliance is for use on a nominal 120-volt circuit, and has a grounding plug that looks like the plug illustrated in Figure 1 below. A temporary adapter illustrated in Figures 2 and 3 may be used to connect this plug to a 2-pole receptacle as shown in Figure 2 if a properly grounded outlet is not available. The temporary adapter should be used only until a properly grounded outlet (Figure 1) can be installed by a qualified electrician.
The green-colored rigid ear, tab, or the like extending from the adapter must be connected to a permanent ground such as a properly grounded outlet box cover. Whenever the adapter is used, it must be held in place by a metal screw.
Grounding adapters are not approved for use in Canada.
Replace the plug if the grounding pin is damaged or broken.
The Green (or Green/Yellow) wire in the cord is the grounding wire. When replacing a plug, this wire must be attached to the grounding pin only.
Extension cords connected to this machine should be 12 gauge, three-wire cords with three-prong plugs and outlets. DO NOT use extension cords more than 50 feet (15 meter) long.
PLEASE NOTE: FOR NORTH AMERICA ONLY
INTRODUCTION
This manual will help you get the most from your Advance vacuum cleaner.
Read it thoroughly before operating the machine. This product is intended for commercial use only.
PARTS AND SERVICE
Repairs, when required, should be performed by your Authorized Advance Service Center, who employs factory trained service personnel, and maintains an inventory of Advance original replacement parts and accessories.
Call the ADVANCE DEALER named below for repair parts or service.
Please specify the Model and Serial Number when discussing your machine.
(Dealer, affix service sticker here.)
RATING PLATE
The Model Number and Serial Number of your machine are shown on the rating plate on the machine.
This information is needed when ordering spare parts for the machine. Use the space below to note the Model Number and Serial Number of your machine for future reference.
MODEL NUMBER____________________________________
SERIAL NUMBER ___________________________________
UNPACKING THE MACHINE
When the machine is delivered, carefully inspect the shipping carton and the machine for damage.
If damage is evident, save the shipping carton so that it can be inspected.
Contact the Advance Customer Service Department immediately to file a freight damage claim.
USA: Nilfisk-Advance Inc. 14600 21st Avenue North, Plymouth, MN 55447-3408, Tel.: (763) 745 3500
Canada: Nilfisk-Advance Canada, 240 Superior Boulevard, Mississauga, Ontario, L5T 2L2, Tel.: 905-564-1149
For more information visit our web page;
www.nilfisk-advance.com
TECHNICAL SPECIFICATION
(as installed and tested on the unit)
| Model | 12H, 12S, 15S GU 12 SMU, GU 15 SMU | 12P, 12D, 15P, 18D GU 12 DMU, GU 15 DMU GU 18 DMU | |
|---|---|---|---|
| Voltage | V/Hz | 110-120/50-60 | 110-120/50-60 |
| Rated Power | W | 1000 | 1200 |
| Protection class (electrical) | I | I | |
| Sound Pressure Level | dB(A) | 69 | 69 |
| Total weight | lbs/Kg | 17/7.7 | 18.7/8.5 |
KNOW YOUR MACHINE
As you read this manual, you will occasionally run across a bold number in parentheses - example: (2). These numbers refer to an item shown on this page. Refer back to this page whenever necessary, to pinpoint the location of an item mentioned in the text.
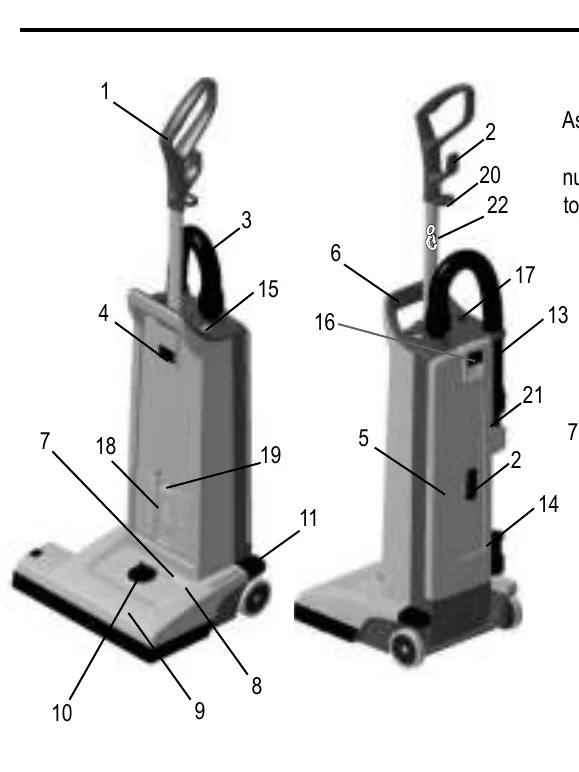
- 1 Handle
- 2 Cord Hook
- 3 Vacuum Hose
- 4 Handle Lock Button
- 5 Dust lid
- 6 Carrying Handle
- 7 Light, Green - Only Double Motor Unit (Dual-versions)
- 8 Light, Red Only Double Motor Unit (Dual-versions)
- 9 Brush Housing
- 10 Brush Height Adjustment Knob
- 11 Pedal
- 13 Wand
- 14 Crevice Tool
- 15 "Restricted Airflow Light"
- 16 Dust lid button
- 17 Main Power Switch
- 18 Exhaust Filter Cover
- 19 Filter Cover Latch
- 20 Power Cord Clamp
- 21 Upholstery Tool
- 22 Anti strain clip (12H only)
SET UP AND ASSEMBLY
- Carefully take out the vacuum cleaner from its carton.
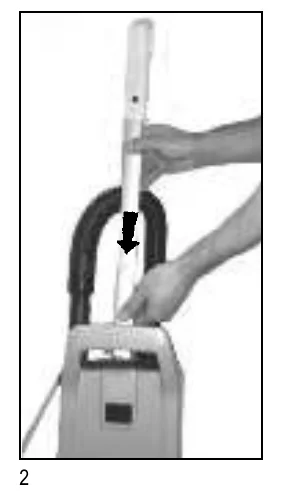
- Push the Handle (1) into the opening at the top of the Dust compartment until the button at the rod snaps in place and secure the handle to the housing.
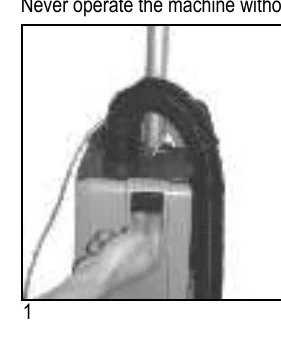
Never operate the vacuum cleaner without a Dust Bag in place. These machines are equipped with an "no bag" clip. This means that if a dust bag not is fitted or fitted uncorrectly - the dust lid (5) would not be able to close.
OPERATING THE VACUUM CLEANER
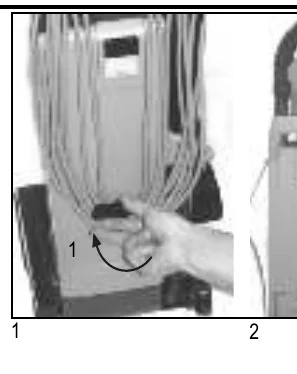
- Release the power cord from the cord hooks (2) at the backside of the vacuum cleaner. Turn the lower hook so that the cord is released. Unwind the whole power cord .
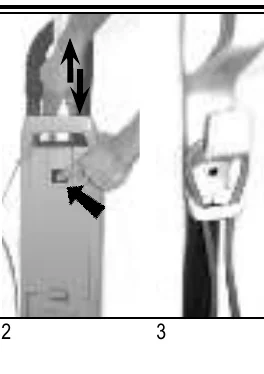
- Adjust the height of the handle, by pushing at the handle lock button (4) and then pull or push at handle to comfortable height.
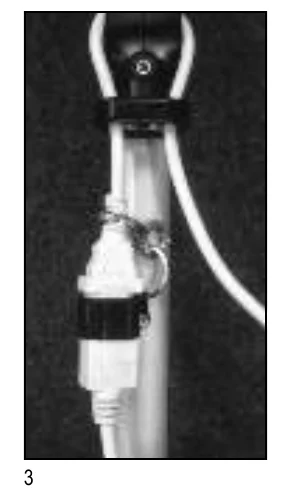
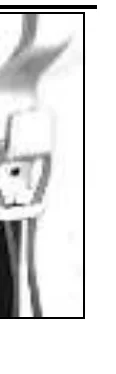
- Add the cord to the hook and the anti strain clip of the handle in order to make an anti strain function. Then plug-in the power cord into a electrical outlet.
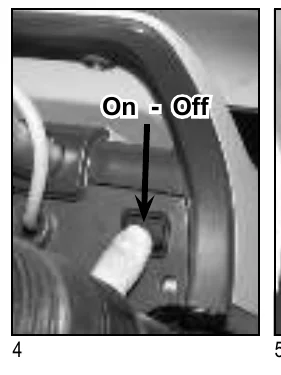
- Turn the Main Power Switch (17) ON. “I” is ON and “O” is OFF. Now the vacuum motor will start.
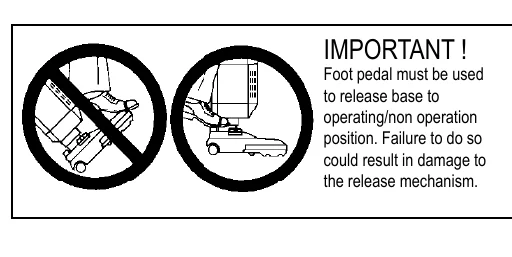
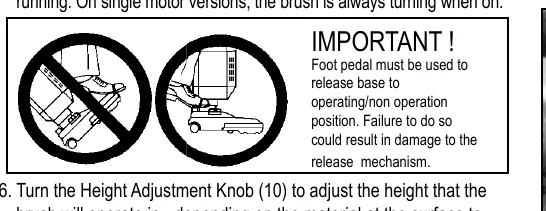
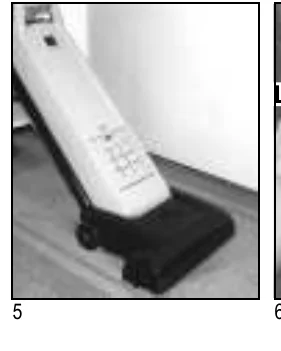
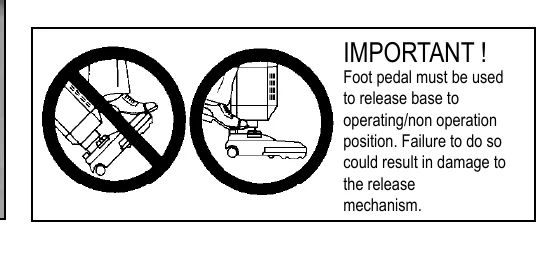
- Step on the Pedal (11) and then tilt the cleaner backwards. Now the brush motor will start (Dual-versions only). Dual-versions, the green light (7) at the brush housing (9) will come on to indicate that the brush motor is running. On single motor versions, the brush is always turning when on.
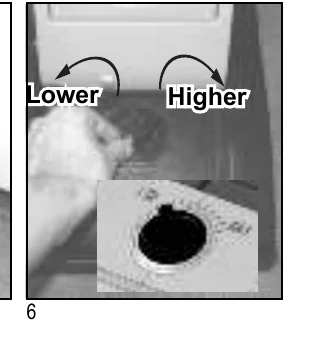
- Turn the Height Adjustment Knob (10) to adjust the height that the brush will operate in - depending on the material at the surface to be vacuumed. For carpets with short textiles the brush should in the lower position. Turn the knob to the left (when you are placed in front of the machine) to lower the brush. For carpets with longer textiles the brush should in a higher position. Turn the knob to the right (when you are placed in front of the machine) to set the brush at a higher level. If the red light comes on, slowly turn the knob in the opposite direction until the light goes off (Dual-version only).
If the red light (8) stays on continuously, there may be debris wrapped around the brush, during operation. On double motor units, this can cause the overload protector for the brush motor to trip. If this occurs, turn the Main Switch (17) OFF and unplug the power cord. Remove any debris from the brush and plug in the power cord, turn the Main Switch (17) back ON. This will automatically reset the overload protector. If the overload protector trips repeatedly contact your dealer for service. For more information of the light indicators on the Dual-versions - see the table below.
Whenever (15) “Restricted Airflow Light” indicator comes on, check the following: Is the bag full and needs to be changed or is the tube, hose or nozzle blocked.
For details of dust bag replacement see separate instruction in this manual. If the light comes on before the bag is full, the inside of the bag may be coated with very fine dust (change the bag), or debris may be built up somewhere between the brush and the bag.
LIGHT INDICATION AND FUNCTION FOR THE BRUSH MOTOR (DUAL - Double Motor Units only!)
| GREEN | RED | CONDITION | FUNCTION | |
|---|---|---|---|---|
| 1. | ON | OFF | Normal operation | In normal operation, the green light is constantly illuminated. |
| 2. | OFF | ON - BLINKING | Brush position too low (heavy loading) | 1. If the condition 2, red light blinking, continues for 10 seconds or more, the control module will cut out the power supply to the brush motor. 2.. The red light will still be illuminated until you turn off the switch or unplug the cord. |
| 3. | OFF | ON | Brush stalled | 1. The red light will be constantly illuminated and the control module will instantly cut the power supply to the brush motor, if the brush was stalled accidentally. 2. The red light will still be illuminated until you turn off the switch or unplug the cord. |
USING THE WAND (OPTIONAL)
The Wand (13) is not supplied as a standard item in all variants of these machines. To use the wand:
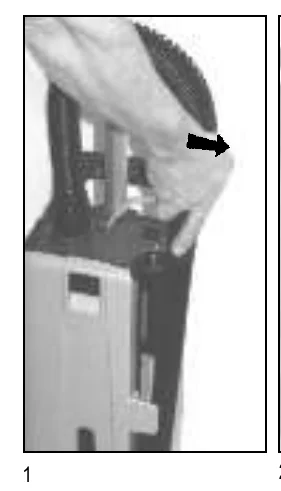
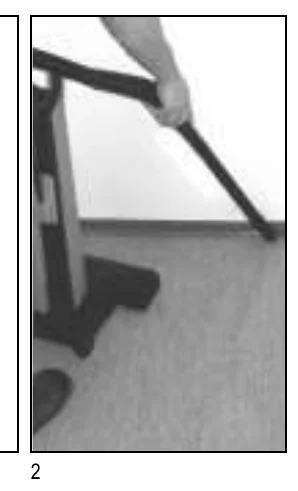
- Push the machine to upright locked position. The brush motor will then stop (Dual-version only), and the brush will be lifted up from the surface on single motor versions.
Then slide the Wand out of its holder. - Use the wand for cleaning hard to reach places like floor corners, or furnitures.
USING THE TOOLS (OPTIONAL)
These tools are not standard items in all machine variants.
Use these tools for a better cleaning performance at hard to reach areas. A Crevice Tool (14) and Upholstery Tool (21) is placed conveniently on the machine, just behind the wand.
Remove the wand from the vacuum cleaner and you will have free access to the Tools.
- The Upholstery Tool is placed in the upper section of the cleaner.
- The crevice tool is placed in the lower section of the cleaner.
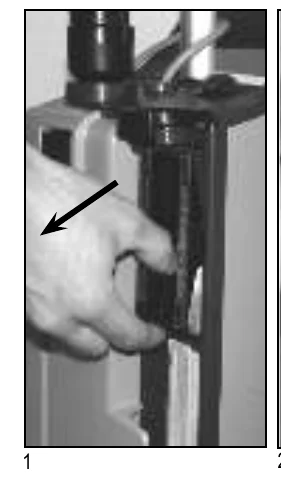
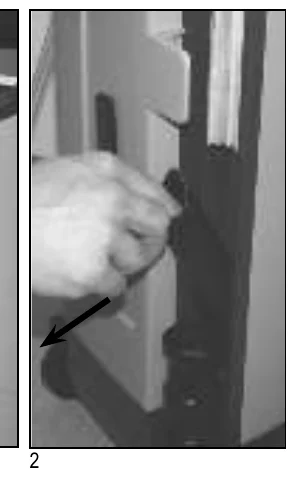
- Install the Crevice Tool or Upholstery Tool on the end of the Wand, or on the end of the hose, which can be detached from the wand, if desired. Now the vacuum cleaner will have an extended coverage performance and can be used for cleaning hard to reach areas like roof strips, or furnitures.
MAINTENANCE
Never operate the machine without a Dust Bag in place.
CHANGING THE PAPER DUST BAG
Change the bag whenever the “Bag Full” (15) indicator comes on. To replace the Paper Dust Bag:
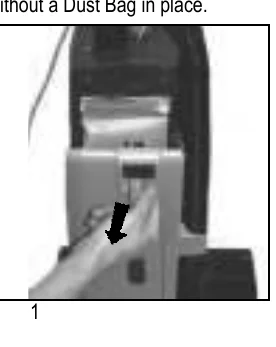
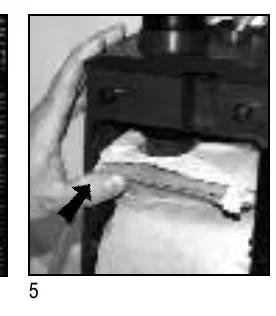
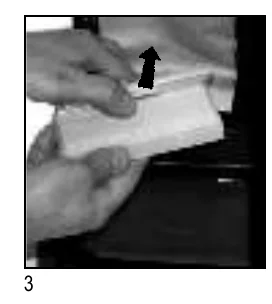
- Disconnect the power cord from the electrical outlet. Pull the Dust lid button (16) and remove the Dust lid outwards to remove it from the cleaner.
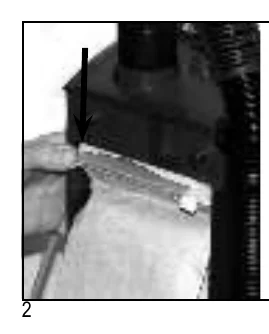
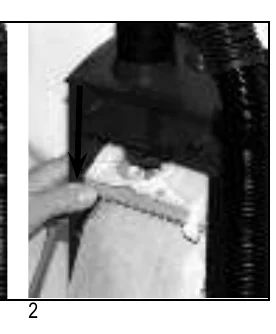
- Push downwards at the edge to the left of the plastic holder, so that the bag loosens from the vacuum inlet of the machine.
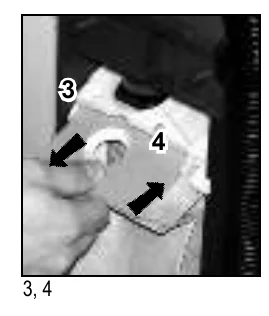
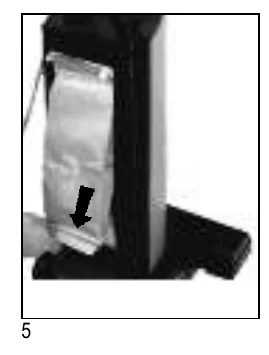
- Grasp at the cardboard piece of the bag and gently pull the full bag outwards - away from cleaner.
- Insert a new paper dust bag into the slot of the bag holder and push the bag in place. Check so that the paper dust bag not is jammed in the holder.Only the cardboard piece of the bag should be attached to the bag holder.
- Push the bag holder with the new bag upwards, so that the bag inlet fastens to the inlet of the machine. Make sure that the bag is unfolded and will fit in place in the bag housing. Also check that the ”no bag” clip is placed to the left so that the lid will be able to close.
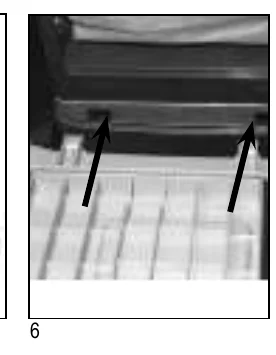
- Fit the two notches of the back cover to the two slots at the lower part of the bag housing, and push the back cover back in place at the housing.
EMPTYING THE CLOTH DUST BAG
Empty the Bag whenever the “Bag Full” Light (15) comes on. To empty or to replace:
- Remove cloth bag as above in steps 1-3.
Disconnect the power cord from the electrical outlet. Pull the Dust lid button (16) and remove the Dust lid outwards to remove it from the cleaner. - Push downwards at the edge to the left of the plastic holder, so that the bag loosens from the vacuum inlet of the machine.
- Grasp at the plastic flange of the bag and gently pull the bag outwards - away from cleaner.
- Remove bag clip and shake out bag contents.
- Put the bag clip back on the bag.
- Replace clean/new cloth bag into machine and close back cover as above in step 4-6.
Insert the cleaned/new cloth bag into the slot of the bag-holder and push the bag in place so that bag is secured. - Push the bag holder with the new bag upwards, so that the bag inlet fasten to the inlet of the machine. Make sure that the bag is unfold and will fit in place at the bag housing. Also check that the ”no bag” clip is placed to the left so that the lid will be able to close.
- Fit the two notches of the back cover to the two slots at the lower part of the bag housing, and push the back cover back in place at the housing.
CHANGING OR CLEANING OF THE BRUSH
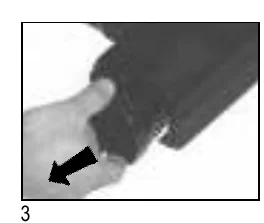
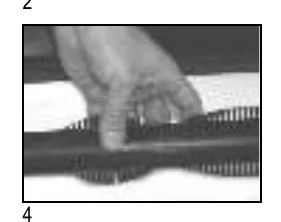
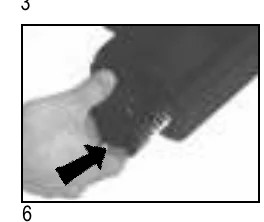
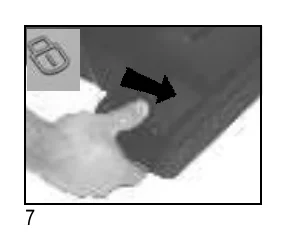
- Unplug the power cord from the electrical outlet.
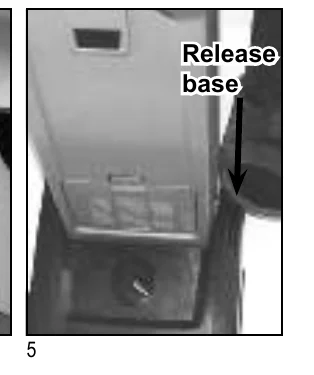
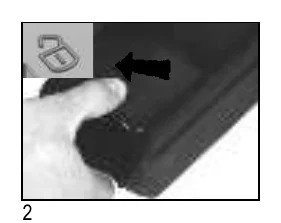
- Release the brush roller by unlocking the bearing block. Push the button backwards left towards the unlocking symbol at the brush housing.
- Grasp at the bearing block and pull it out from the brush housing.
- Remove the used brush.
- Replace the used brush roller with a new one, or clean and remove all debris from the present brush.
- Slide back the brush into the the fixed bearing block in the brush house.
- Push the bearing block in its position. Lock it by turning clockwise.
FILTERS - type of filter may vary from different models
On these machines there are two different filters; one pre-filter before the vacuum motor and one exhaust filter.
There are two different types of exhaust filters available to these machines, HEPA-filter and a standard exhaust filter. The HEPA-filter (High Efficiency Particulate Air filter) offers better filtration capacity then the standard exhaust filter. The exhaust filters catches any dirt that may escape from the dust bag, or motor pre filter. Replace the motor pre filter every 5th time that the dust bag is changed (more often in very dusty applications). The exhaust filters are located at the front side of the machine just above the brush base. The HEPA filter can not be cleaned or washed clean. When the HEPA-filter is clogged it must be replaced. Replace the exhaust / HEPA filter 1-2 times per year depending on amount of use.
CHANGING THE HEPA-FILTER
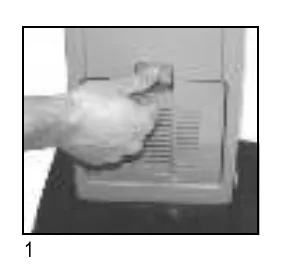
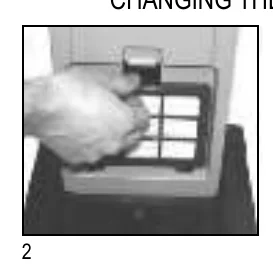
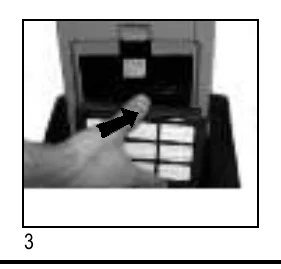
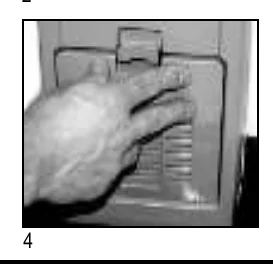
- Disconnect the power cord from the electrical outlet. Push the Filter Cover Latch (19) downwards so that the cover (18) is released. Remove the filter cover from cleaner.
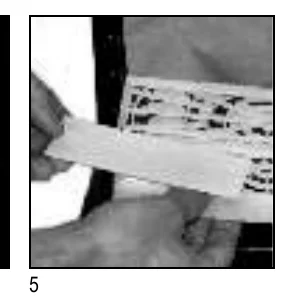
- Grasp at the filter frame and remove the used and dirty HEPA-filter
- Grasp at the filter frame and then insert the new HEPA filter to the cleaner by pushing it in place. (Never touch the filter media of a HEPA-filter! Doing so may cause a loss of performance of the HEPA-filter).
- Snap the Filter Cover back in place at the cleaner.
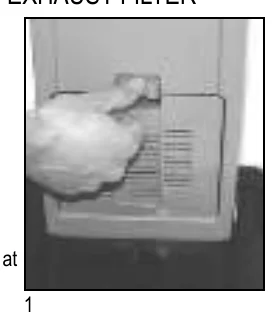
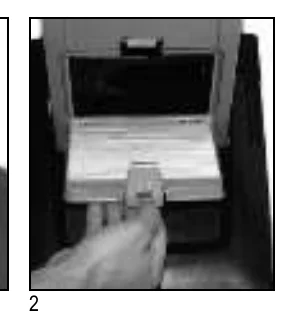
CHANGING THE EXHAUST FILTER
- Disconnect the power cord from the electrical outlet.
Push the Filter Cover Latch (19) downwards so that the Filter Cover (18) is released. - Remove the cover with the filter, from the cleaner.
- Remove the used and dirty exhaust filter.
- Insert a new exhaust filter to the filter cover.
- Snap the Filter Cover back in place on the cleaner.
CLEANING OR CHANGING THE PRE FILTER
The pre filter catches any dirt spilled from the bag, before it can enter the vacuum motor. The filter is located below the bag.
Clean or replace motor pre filter every 5th time that the bag is changed. (more often in very dusty applications).
To clean/replace the Pre Filter.
- Disconnect the power cord from the electrical outlet. Then push the Dust lid button (16) in and remove the dust lid (5).
- Grasp at the filter holder and pull the holder out from the Dust compartment.
- Remove the dirty filter from the filter holder and replace with a new pre filter. The pre filter may also be washed. Wash it in warm water. Let the filter dry completely before putting it back into the filter holder.
- This machine is also equipped with a deodorizer pad. It´s located in the pre filter holder.
Replace it to a new deodorizer pad when the function begins to fade. - Put back the new/washed filter into the holder. Then put back the holder with filter in place in the bag housing.
- Fit the two notches of the back cover to the two slots at the lower part of the bag housing, and push the back cover back in place at the housing.
AFTER USING THE MACHINE
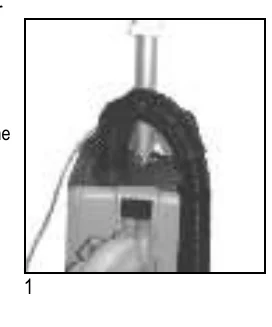
- Unplug the Power Cord from the electrical outlet.
- If the machine is not cleaning as expected and the “Restricted Airflow light” is not illuminated, open the dust housing to ensure that the dust bag is not full, replace it if necessary. See also separate instructions for replacing the dust bag. Clean the bag housing if necessary.
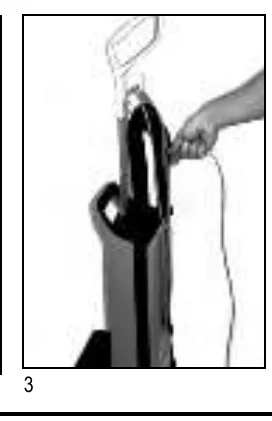
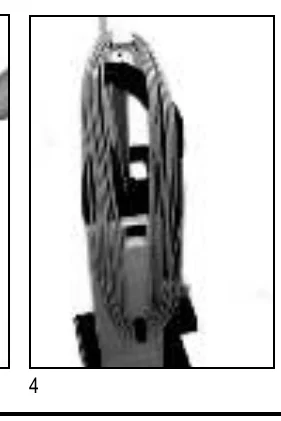
- Wind up the cord (starting from the machine inlet side).
- Store the cord on the hook at the Dust lid cover and the hook at the handle.
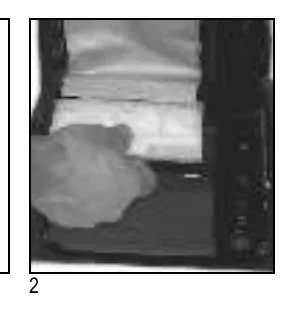
- Check the brush house. Remove any built-up carpet fibers or debris from the brush and the brush housing.
- Store the machine indoors in a clean, dry place.
Advance and Nilfisk are trademarks of Nilfisk A/S. Southeastern Equipment & Supply is an independent dealer.